
Type of course:
Digital learning, Lesson
Language:
EN
Duration:
20 minutes
Workload:
35 hours
Proficiency:
Beginner
Target:
Students, Workers, Pupils, Professionals
This lesson has been developed as part of the ‘Manufacturing a Healthy Future’ program, which focuses on strengthening the engagement of primary schools with STEM and manufacturing. The program utilizes 3D printing as an example technology to promote exciting career opportunities in manufacturing while focusing on sustainability and diversity in STEM.
SUMMARY
Installing the Slicer and setting it up correctly is a crucial step to getting started with successful 3D printing. In this lesson, learners will go through the step-by-step process of downloading, installing, and setting up the Prusa Slicer Software.
This lesson is designed for beginners and those just starting their 3D printing journey – but it may also be helpful for experienced users who have used any other slicing software for 3D printing.
About The Author
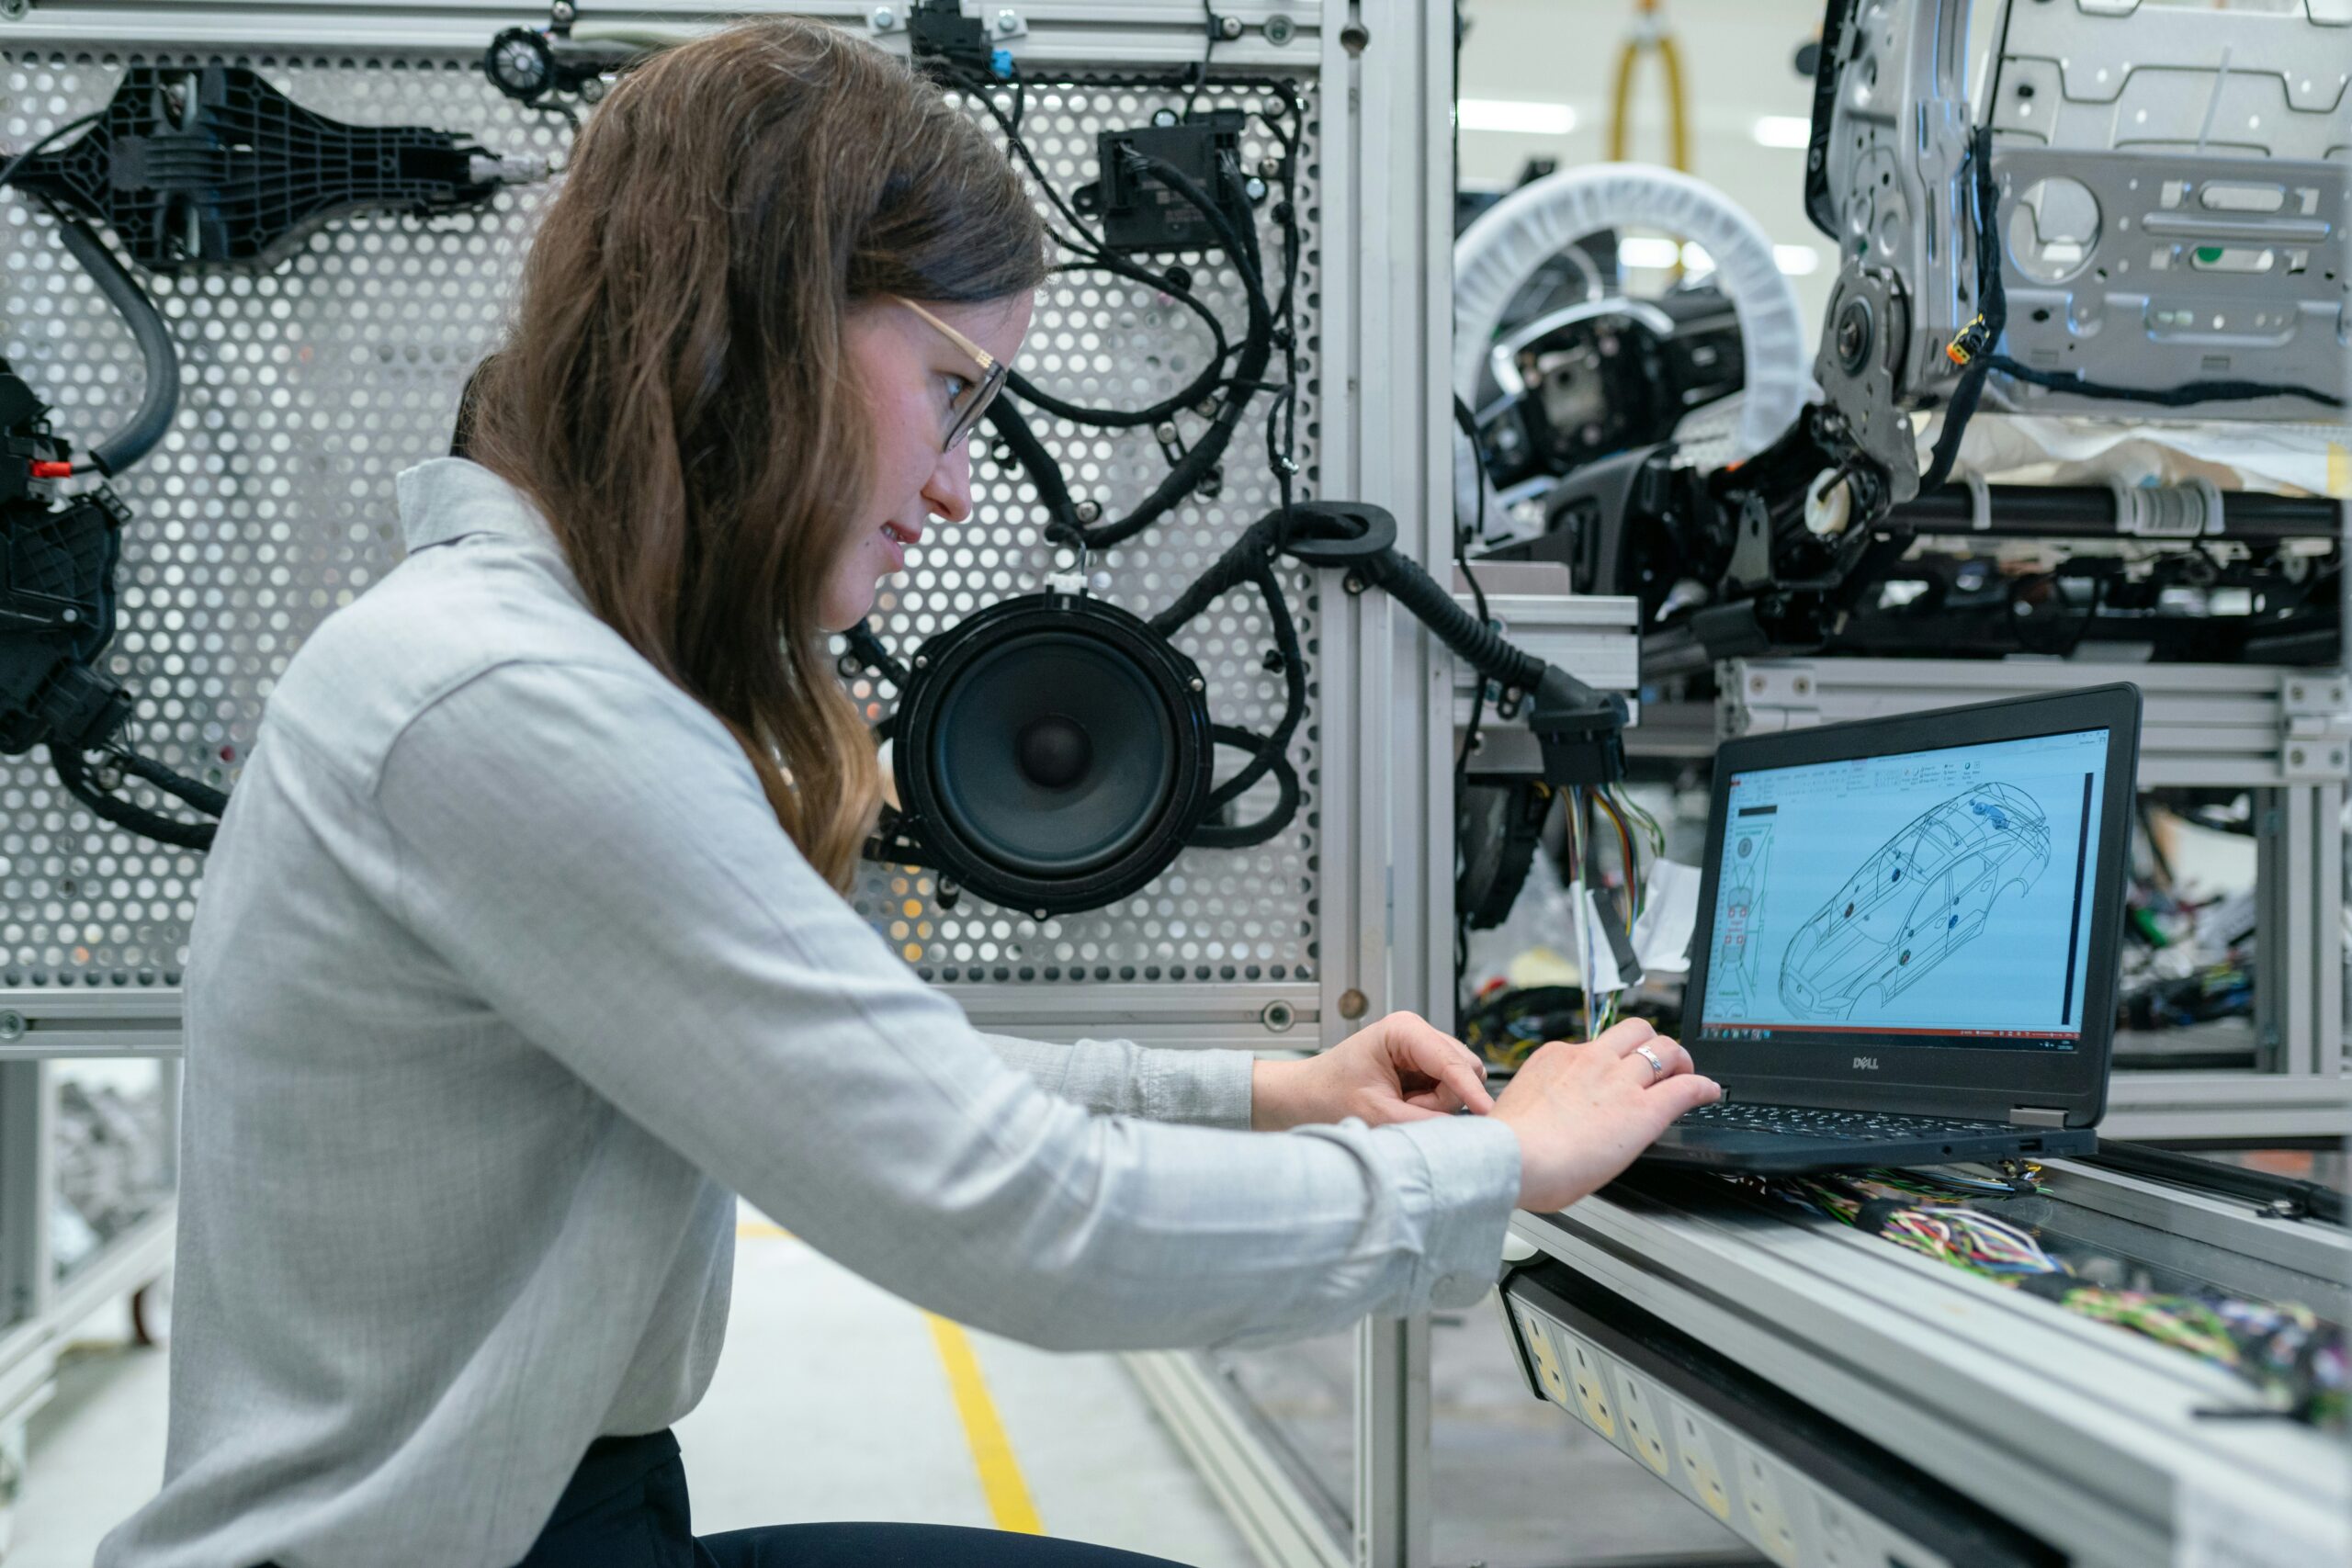
Renno Raudmäe is a junior research fellow in Computer Engineering at the University of Tartu and has more than five years of experience in the field of 3D printing and more than ten years of experience with various CAD software, including SolidWorks, SolidEdge, Autodesk Fusion. He actively teaches CAD systems, 3D printing, and Robotics topics at the University of Tartu.
Learning outcomes
- By the end of this lesson, learners will understand how to install the Prusa Slicer.
- By the end of this lesson, learners will understand how to set up the slicer for the printers from different manufactures.
- By the end of this lesson, learners will have Prusa Slicer installed to their computer.
Course Content
Topics
Uncategorized
Tags
Industry 5.0
Provided by
-
University of Tartu


Course Includes
- 1 Quiz
Related
-
 Intermediate
Circularity and Information Sharing for Resilient Value Chains
By Faculty of Engineering of University of PortoThis lesson explores strategies for creating circular, sustainable value chains, emphasizing the importance of information sharing and collaboration to build resilience, particularly in critical sectors like automotive and electronics.
Digital learning, Lesson- Quiz1
-
 Intermediate
Augmenting Workers
By Faculty of Engineering of University of PortoThis lesson discusses technologies that enhance human capabilities in the workplace, such as exoskeletons and augmented reality, empowering workers to perform complex tasks more efficiently and safely.
Digital learning, Lesson- Quiz1
-
 Intermediate
Human-Robot Collaboration for Assembly/Disassembly
By Faculty of Engineering of University of PortoThis lesson examines the integration of COBOTs (collaborative robots) in industrial processes, explaining how humans and robots can safely and efficiently work together in tasks like assembly and disassembly.
Digital learning, Lesson- Quiz1
-
 Intermediate
Data Analytics for Energy Efficiency and Sustainability
By Faculty of Engineering of University of PortoThis lesson focuses on using real-time data analytics to optimize energy usage in industrial settings, reducing waste, and improving sustainability through smart energy management systems.
Digital learning, Lesson- Quiz1
-
 Intermediate
Digital Technologies Enabling Industry 5.0
By Faculty of Engineering of University of PortoThis lesson introduces key digital technologies driving Industry 5.0, such as AI, IoT, and cobotics, highlighting how they enhance efficiency, sustainability, and human-machine collaboration.
Digital learning, Lesson- Quiz1
-
 Intermediate
Introduction to Industry 5.0
By Faculty of Engineering of University of PortoThis lesson explores the evolution from Industry 4.0 to Industry 5.0, emphasizing human-centric, sustainable, and resilient manufacturing systems, where humans and advanced technologies co-create value.
Digital learning, Lesson- Quiz1
-
 Intermediate
Industry 5.0: Transition to Sustainable, Human-Centric and Resilient Manufacturing
By Faculty of Engineering of University of PortoThis course explores the evolution from Industry 4.0 to Industry 5.0, highlighting the shift towards sustainable, human-centric, and resilient manufacturing practices. Learners will gain a comprehensive understanding of Industry 5.0 fundamentals, focusing on its core principles and distinct differences from previous industrial revolutions. The course delves into the integration of advanced digital technologies, such as real-time data analytics and automation, to enhance energy efficiency and operational sustainability in industrial settings. Participants will learn to identify inefficiencies and propose value-driven improvements. Additionally, the course covers the application of human-robot collaborative systems, emphasizing intelligent collaborative cells that facilitate safe and efficient human-robot interaction, thereby contributing to enhanced resilience in manufacturing processes.
Digital learning, Path- Course Certificate
49 € -
 Intermediate
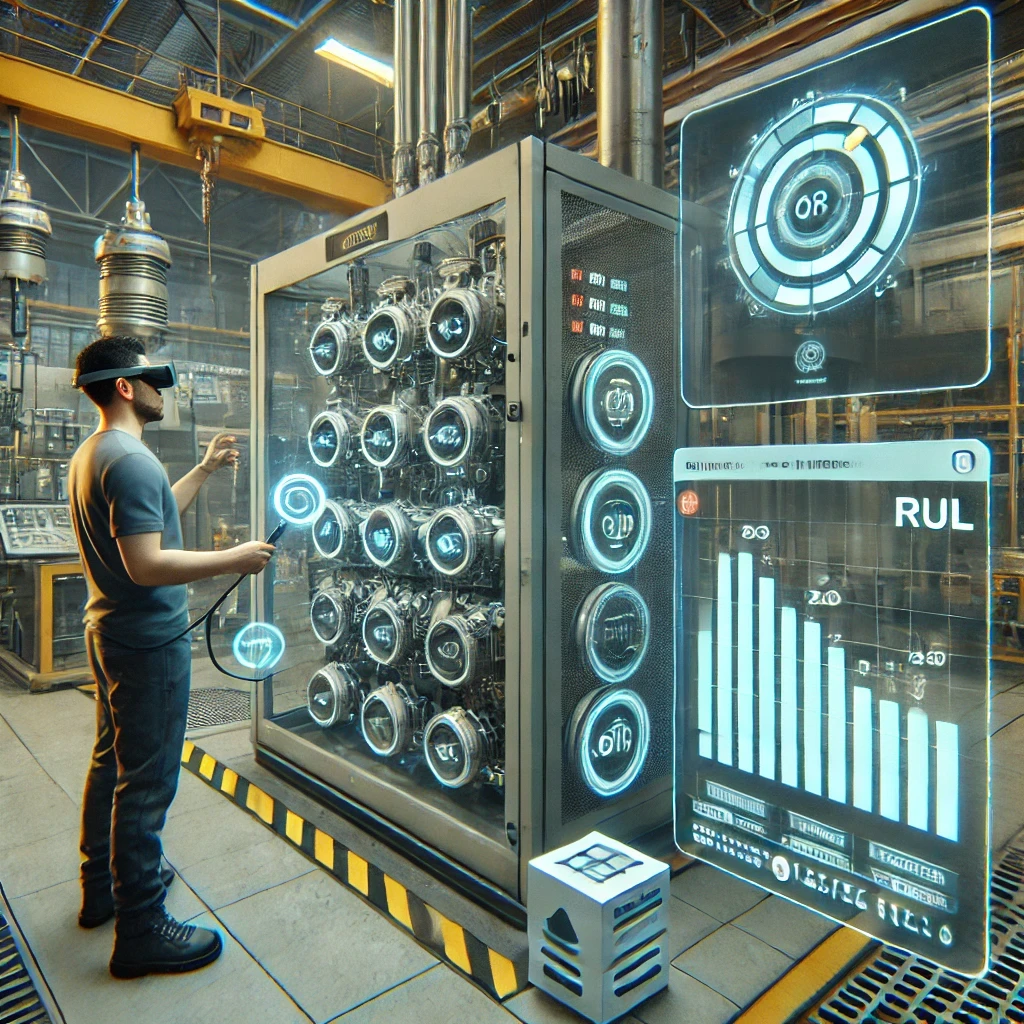
Augmented Reality Application Development for Equipment Health Monitoring
By Laboratory for Manufacturing Systems and Automation of Patras - Laboratory for Manufacturing Systems and Automation of PatrasThis lesson teaches learners how to design Augmented Reality (AR) applications for monitoring equipment health. They will learn to formulate microservices for AR-based monitoring, create data monitoring and visualization workflows, and develop AR modules that provide real-time monitoring of equipment performance.
Digital learning, Lesson -
 Intermediate
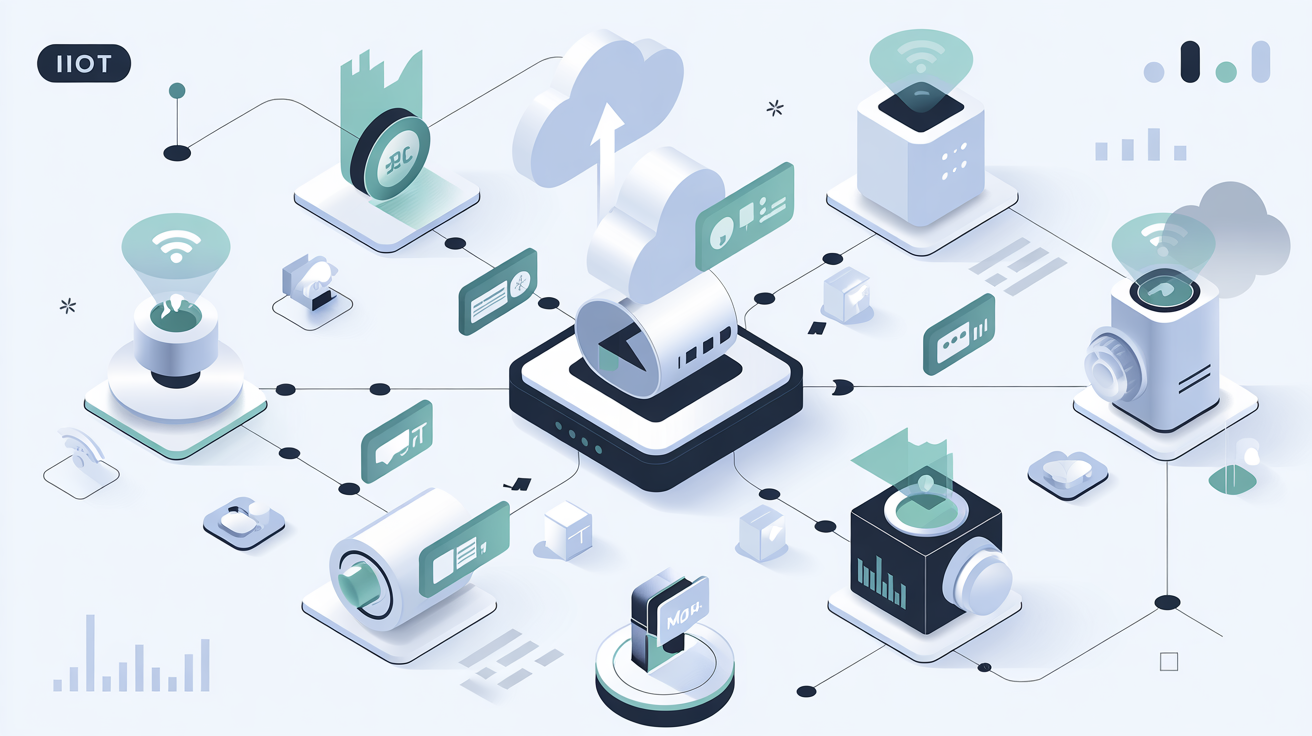
Introduction to MQTT
By Beia Consult InternationalMessage Queuing Telemetry Transport (MQTT) is a lightweight messaging protocol for Internet of Things (IoT), using a publish/subscribe model for efficient, real-time communication. Common uses include smart homes, industrial automation, and environmental monitoring.
Digital learning, Lesson- Quiz1
-
 Intermediate
Introduction to Time Series Databases
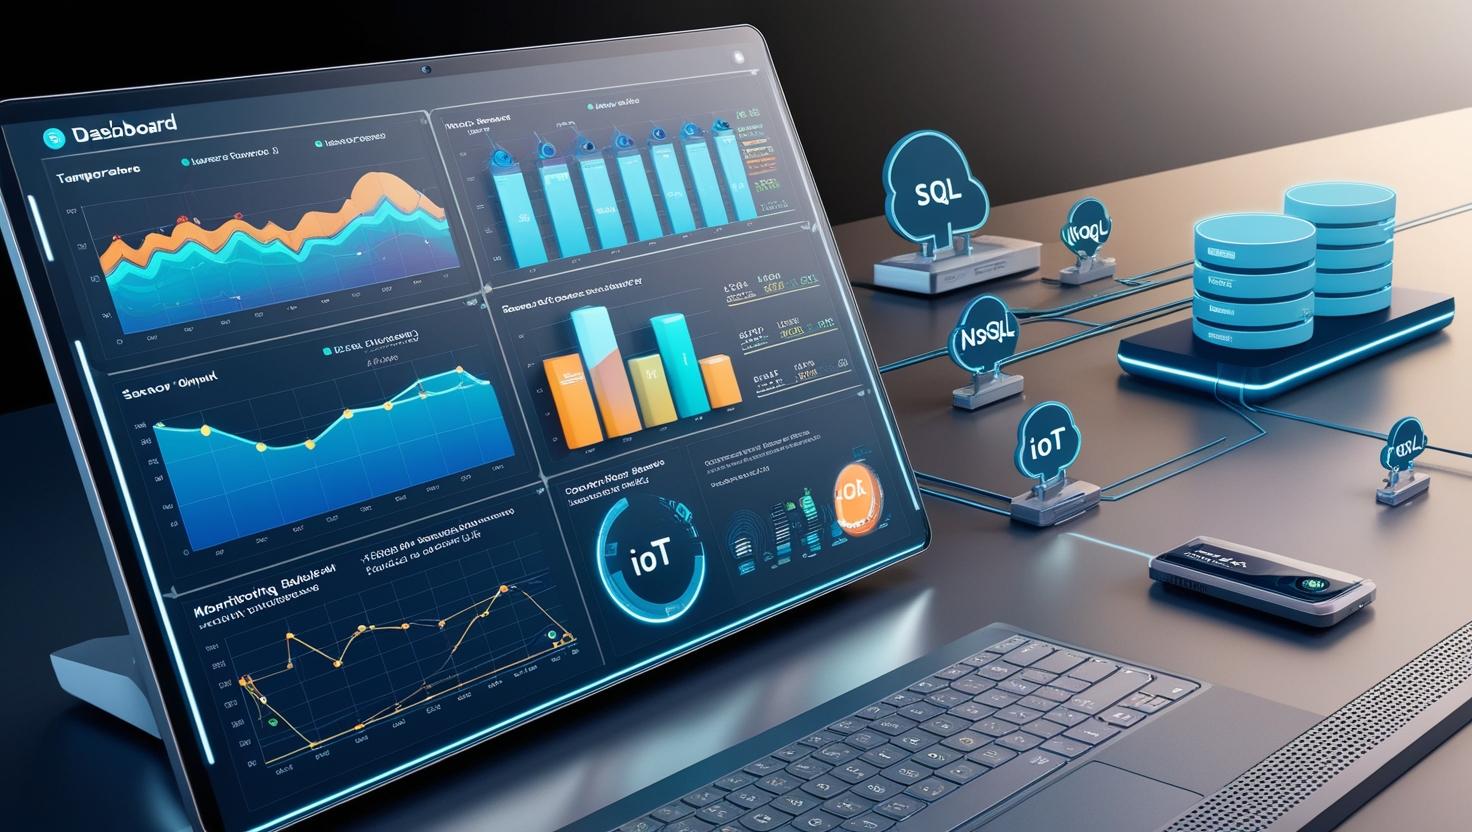
By Beia Consult InternationalTime Series Databases (TSDBs) efficiently store and retrieve time-stamped data for applications like IoT, monitoring, and finance. They come in SQL-based (e.g., MySQL, PostgreSQL) for structured queries and NoSQL-based (e.g., InfluxDB, MongoDB) for scalability and high-velocity data handling. The choice depends on data volume, query complexity, and scalability needs.
Digital learning, Lesson- Quiz1